Showing posts with label Recipes. Show all posts

Friday, July 22, 2011

Introducing, my new hobby

Ugh. I don't have any new projects going on! This has been my first week as a SAHM, and I've been busy catching up on the housework, laundry and transitioning the kids from fulltime daycare. Luckily it's been in the triple digits here, so that's been an excuse to stay in the house :-)

So, on to my new obsession: CANNING. I stumbled upon this awesome blog- Food In Jars, and my eyes have been in HEAVEN to say the least.

I had already been dreaming of canning pickles, and with the new amount of time I have on my hands, I decided to take the plunge.
Photobucket
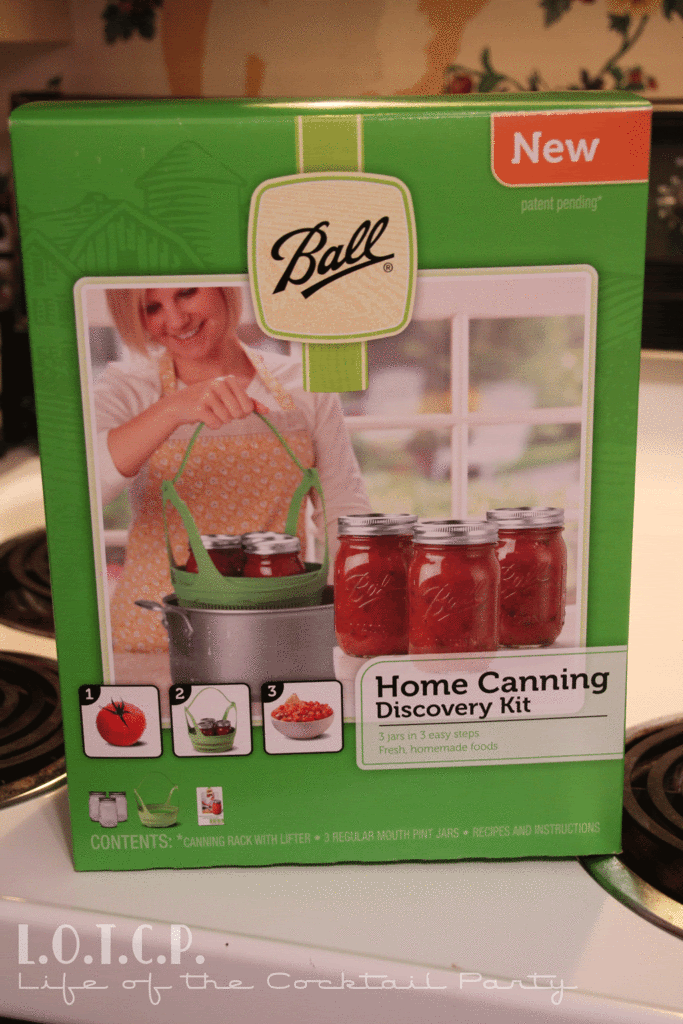
I bought this little kit for just under $11. It has the plastic basket, 3 jars with lids and a little recipe booklet. I purchased 1.75 pounds of cucumbers, a bunch of spring onions, a jar of minced garlic and a bottle of dill. I already had white vinegar on hand (or you can use apple cider vinegar).
Photobucket
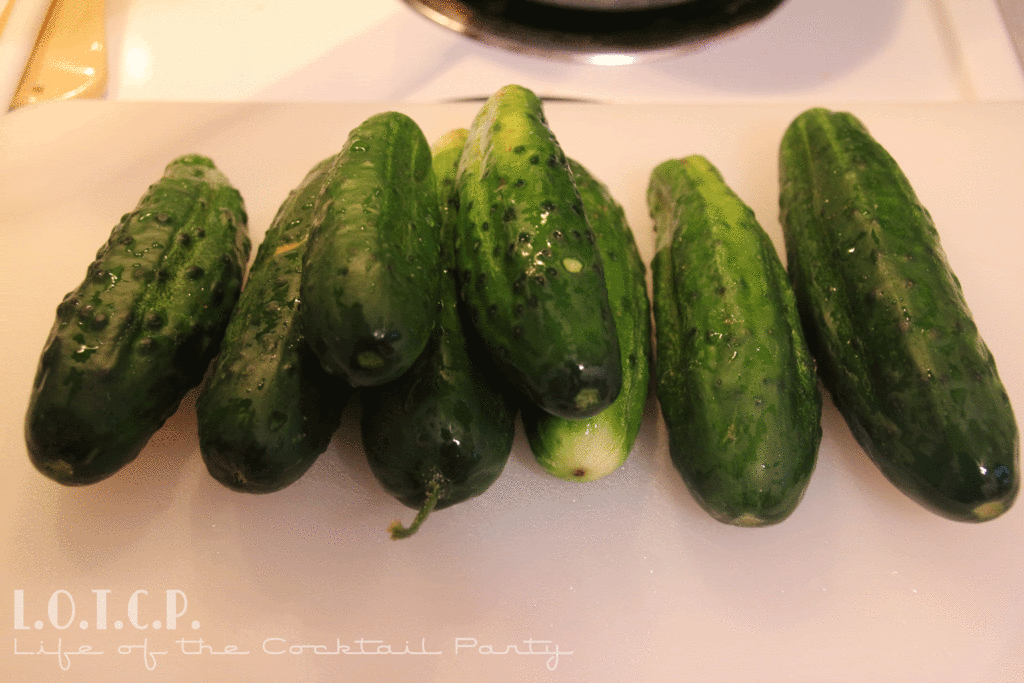
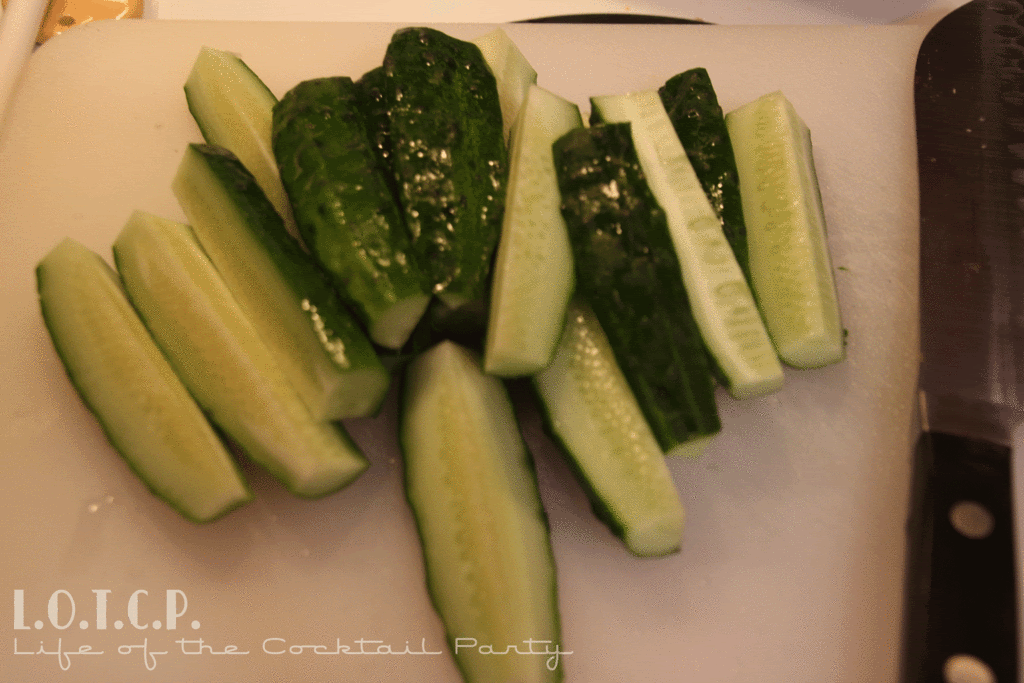
My freshly washed cukes! The last one on the right was a tad bigger than the others, so I cut it and another one in thick slices rather than spears.
Photobucket
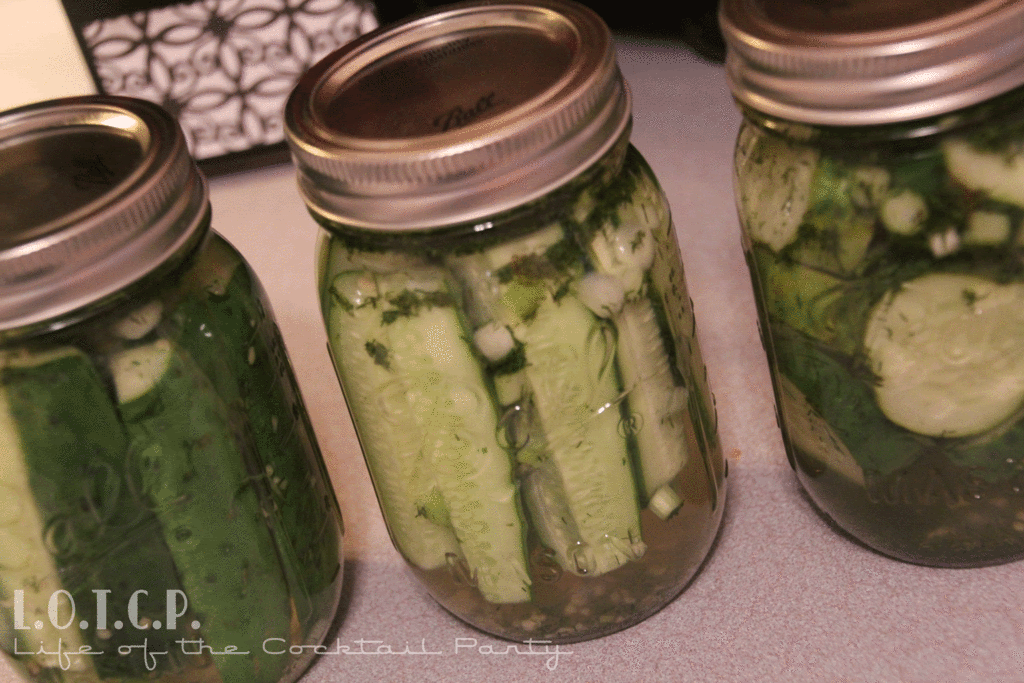
In a saucepan I heated up water, vinegar and sea salt to create a brine. I prepared the jars and spooned some minced garlic, chopped spring onions and dill. I then packed the cukes into the jars following basic canning directions. When the brine boiled I poured it in the jars and sealed them up!

I found the recipe on Food In Jars and it's a "quick" one. When the jars are cool you refrigerate them for at least a day and they're good for about a month. I'm taking the jar of slices to my former co-worker, and the others will be waiting for me tonight!
Photobucket
I am tickled by how they look in the jar with the onions, garlic and dill swimming around the cucumbers :-)


Photobucket
Thank you for stopping by to say "Hi". We love getting your comments. If you like our little blog, we'd love for you to become a {Follower} so you can join in on the fun.

Tuesday, March 1, 2011

Candy Infused Vodka for Purim

Lots of people are infusing vodka with candy--especially Skittles-- these days, and the results look colorful and fun. But Skittles aren't kosher. Still, I wanted to infuse my own vodka, and came up with this fun variation on the trend using kosher candy in a variety of flavors and colors. Perfect for giving as gifts on Purim and for making mixed drinks.And even though I'm talking about the Purim holiday, you can really make some of these up for any other occassion!


You'll need:
  • One 1.75 liter bottle of vodka
  • A total of 1 lb. of Kosher hard candies. You can use Lemonheads, Red Hots, Starlight mints or even jelly beans.


Tools:
  • One large empty plastic water bottle for each flavor that you're making
  • Funnel
  • Large multi-cup measuring cup with a spout
  • Coffee filters or paper towels
  • Glass bottles for storage


Separate your candy by color and kind. This is only necessary if you're using a candy that comes in one package with many colors (like jelly beans). If you're using Lemonheads and Red Hots, for instance, you can skip this step.

Pour one flavor of candy into each infusion bottle. Then, pour vodka into each water bottle. If you're making three or four flavors, try to divide the vodka into three or four bottles leaving approximately even amounts of vodka in each bottle. If you're making four flavors, this will be about 15 ounces of vodka in each bottle.

Put the caps back on the bottles, and shake vigorously. The more you shake, the more quickly the candy will dissolve. Set the bottles aside for a few hours, and then come back and shake them again. Ideally, leave them overnight, and shake in the morning. After 24 hours, most of the candy will have dissolved, and you should be left with brightly colored vodka with some little bits of candy floating in it. The candies will dissolve at different rates, so don't be surprised if there's nothing left of your Lemonheads, but the jelly beans are mostly intact. If the candy hasn't dissolved significantly, shake it again, and leave it for another day.

At this point you can put the bottles in the freezer, to chill. The bits of candy will add a little crunch to your drinks. But, if you want to strain out whatever's left, you'll be left with a smoother and slightly fancier looking drink.

To strain the vodka, start by putting a funnel inside a large measuring cup. Put a coffee filter in the funnel. Pour one of the infusions into the strainer setup. Pour slowly, and allow the liquid time to soak through. In the end, you should have about 13 ounces of candy infused vodka. Toss out the filter and whatever was caught in it. Pour the vodka into clean empty glass bottles, easy to find at dollar and houseware stores.

Repeat this process for each flavor. Stick the bottles in the freezer overnight and voila! Candy flavored vodka, ready for your Purim celebrations.

Even though we love our cocktails here at the party, we encourage everyone to drink responsibly and know your limits :-)

Recipe from Tamar Fox @ My Jewish Learning

Thursday, February 10, 2011

Must. Try. This. Recipe.

HAHA!

Doesn't this look "to die for" or what? Another kicker... it's a spin on rice krispie treats that are super easy for kids to help you with. My son with his uber sweet tooth would gobble these up in a minute!

Head on over to D.I.Y. Louisville for the recipe and more photo fun. One of these days I'll make it to hang out with the ladies for some crafting fun :-)

Monday, January 24, 2011

Red Velvet Cake Balls

Over at D.I.Y. Louisville, they've posted an oh-so-yummy recipe for Red Velvet cake balls in a handmade box. How cute would this be for Valentine's Day? I've been trying to come up with some ideas of treats to put in clear paint pails.

My Aunt Janie did a really cute one for my husband this past Christmas. Greg is a big fan of this dessert she makes, which is called "Orange Fluff". Well, she didn't make the orange fluff but she did make some creamsicle candy bark and put in a clear pail. Then she decorated the pail in a winter motif.

I am so behind on getting my Valentine's decorations out. I see so many people already crafting and primping their home. Anyone else behind too?

Saturday, October 30, 2010

Pumpkin Swirl Brownies

I just love opening my Inbox and finding yummy recipes like this. Betty Crocker just gives me the warm and fuzzies :)

Filling
1 pkg. (3oz.) cream cheese, softened
1/2 cup canned pumpkin (not pumpkin pie mix)
1 egg
3 tbsp. sugar
1 tsp. ground cinnamon
1/4 tsp. ground nutmeg

Brownies
1 box Betty Crocker Premium Brownies Ultimate Fudge
1/4 cup vegetable oil
2 tbsp. water
1 egg

Directions
1. Heat oven to 350°F (325°F for dark or nonstick pan). Grease bottom only of 9-inch square pan with shortening or cooking spray. In small bowl, beat all filling ingredients with electric mixer on low speed until smooth. Set aside.

2. Make brownie batter as directed on box, using 1/4 cup oil, 2 tablespoons water and the egg. Spread 3/4 of the batter in pan. Spoon filling by tablespoonfuls evenly over batter. Spoon remaining brownie batter over filling. Cut through batter several times with knife for marbled design.

3. Bake 40 to 45 minutes or until toothpick inserted 1 inch from side of pan comes out almost clean. Cool completely. Cut into 4 rows by 4 rows. Store covered in refrigerator.

Monday, October 25, 2010

Plumkuchen - Plum Cake

Since my husband is Jewish, I've been trying to learn some of the cooking that goes along with the heritage. I receive emails each week of something new to try, so I thought I'd share this one with you!

Recipe writer: Avigail Hurvitz-Prinz

"Something about this cake makes people nostalgic. My guests always tell me it reminds them of cakes their Bubbes from the old country make, and that fits nicely with the Central European roots of the recipe.

"I call the cake plumkuchen, though its proper German name is Pflaumenkuchen (Pflaumen=plums, kuchen=cake). The recipe, from my maternal great grandmother, uses a dough called müerbteig, which is one of the staples of German-Jewish baking, and the basis of many tarts.

"For plumkuchen, I like to use "Italian plums" also known as "prune plums," that ripen at the very end of summer and the beginning of fall. Italian plums are slightly smaller than the ones that you might be accustomed to, but any plum will do. If you use bigger plums, you may want to cut them into quarters. The ones that bake best are slightly under-ripe.

"In my family, this cake must be served with plain yogurt (for breakfast) or whipped cream (for dessert). It can be made ahead to eat on Shabbat afternoon after a dairy lunch. The plums introduce moisture to the cake, so it keeps well for up to three or four days."

Plum Cake
2 cups flour
2 tsp. baking powder
pinch of salt
zest from 3 lemons
1/2 lb. of butter, at room temperature
1-1/4 cup sugar (reserve 1/4 cup)
5 eggs
1 tbsp. Vanilla
1 cup breadcrumbs
3 lbs of plums

1. Preheat oven to 350 degrees.

2. Combine the flour, baking powder, salt, and lemon zest in a medium bowl.

3. In a large bowl cream the butter and one cup of the sugar, either by hand or with an electric mixer. Then add the eggs one at a time, and add all the dry ingredients a little bit at a time. Add the vanilla and mix thoroughly.

4. When the cake batter is smooth, pour it into a 9x12 glass baking dish. Sprinkle the top with breadcrumbs, then place the plum halves on top of the batter. I place them to cover the whole top of the cake. Breadcrumbs can help keep the plums from sinking into the cake. But don't fret if your plums fall. If this happens to you, as it often does to me, the cake will still be delicious!

5. Sprinkle cake with the reserved ¼ cup of sugar. Bake for 30 minutes or until the top is golden brown and a knife comes out clean.

Monday, June 28, 2010

Creamy Flan


I was previously married to someone who was half Fillipino. With that came cooking the cuisine, which including luscious flan. I hated the idea of cooking it traditionally, because it was REALLY bad for you. I came across this flan recipe many years ago in Taste of Home magazine and have been making it ever since!

Caramel Bottom
In a non-stick saucepan, melt about 1/4 cup of granulated sugar until it's liquid. Pour into a 2 quart round glass baking dish.

Flan Filling
8 oz. brick of softened cream cheese
5 eggs
1 can sweetened condensed milk
1 can evaporated milk
splash of vanilla

In a large bowl, beat cream cheese until smooth. Add 1 egg at a time, beating with mixer. Add in sweetened condensed milk, evaporated milk and vanilla. When fully incorporated, pour into glass baking dish over the sugar (which has now hardened).

Bake at 350 degrees for 50 minutes. Remove from oven and let cool. If you'd like you can invert over a serving plate. It tastes even better when it's been refridgerated!

Chocolate Layer Pudding Desert


I found this recipe over at The Crafting Chicks and wanted to share (also so I could have it on hand to make for myself!)

Pecan Crust
1 cup chopped pecans
1 cup flour
1/2 cup butter

Mix pecans, flour, and butter and press into a 9×13 pan. Bake at 300 for 20-25 minutes. Cool.

Cream Cheese Layer
(8oz) non-dairy whipped topping, thawed
2 (8oz) cream cheese, at room temp.
2 cups powdered sugar

Blend whipped topping, cream cheese and powdered sugar. Spread over cooled crust. Refrigerate 2 or more hours.

Chocolate Pudding Layer
2 (5.9 oz) chocolate instant pudding
4 cups milk
2 tsp. vanilla

Mix pudding, milk, and vanilla with an electric mixer on low speed until mixture begins to thicken. Spread on top of cream cheese layer and refrigerate overnight or for several hours. Garnish with a grated candy bar. Makes 10-12 servings.

Friday, March 12, 2010

Experimental cooking at it's finest


My husband does not know how to cook. Nothing. Zero. Zip. Nada. I find it kind of sad that a man his age can't cook, but that's just one of the many things I have to work on with him. We're each other's 2nd marriage. I expect a grown man to be able to take care of himself and he expects a seasoned married woman to know how to be able to take care of her man...

We argue ALL the time.

He decided that tonight, since all the children were with our exes, we would try and cook a dish his mother used to make. My MIL is Jewish and it's a food culture I'm still getting used to. My ex husband was Filipino and I adapted so I know I can do this. The dish du jour? Pasta shells in an onion/butter sauce.

Ok. I know it sounds a bit gross.

I diced the onions, because hubby doesn't even know what a cutting board is. He got the box of pasta shells into some boiling water. I melt a stick, YES A STICK, of butter and saute the onions. It seemed plain to me. I throw in some pepper, seasoned salt and garlic powder. I normally have minced garlic in the fridge but recently used the last of that.


It still needed something... "What about sliced mushrooms?" Hubby says sure and I grab a can. I have this mixture getting happy in my big skillet and it seems like a lot of buttered onions to go over the pasta. But once the pasta was done and in the skillet it was a perfect combination! Not too much butter but in my opinion too much onion. Greg thinks it's some Yiddish dish his mother used to make. The ingredients remind me of something from the Depression era. Next time I'm going to add some frozen peas and stock up on the minced garlic.

Tomorrow while I'm doing LOADS of laundry, I'm determined to finish my latest Emme purse and either sew or papercraft... my hands are going crazy!

LinkWithin

Related Posts with Thumbnails